4 DIY Tips: How To Build A Pergola Safely & Fast

Written By: First American Roofing
10/23/25
6 Mins
If you’ve ever wondered how to build a pergola that’s both stylish and sturdy, you’re in the right place. A pergola can transform your backyard into a comfortable outdoor living space, adding beauty, shade, and value to your Wisconsin home. While some homeowners prefer professional installation, many enjoy the satisfaction of creating a custom pergola themselves. With the right tools, materials, and safety precautions, your DIY pergola project can be both rewarding and efficient for homes in Holmen, WI, and surrounding areas.
- Preparation: A detailed plan ensures your pergola fits your space and complies with local building codes.
- Efficiency: Organizing your materials and pre-cutting components saves hours of work.
- Safety: Following proper safety steps prevents injuries and ensures lasting stability.
Here’s how to build a pergola safely and fast—while achieving a result you’ll be proud to enjoy year after year.
Planning Your Pergola Project
Before picking up any tools, take time to plan out your pergola carefully. A clear vision helps avoid mistakes and keeps your project on track.
Choose the Right Location
Picking the best spot for your pergola affects comfort and long-term enjoyment.
- Sun exposure: Consider where the sun hits your yard to provide optimal shade during hot afternoons.
- Wind direction: Avoid areas with strong, direct winds that could strain the structure.
- Accessibility: Position your pergola near patios, decks, or garden paths for easy access.
Check Local Building Codes
Building codes vary by municipality, so check with your local government before starting construction in Holmen, WI, or nearby communities.
- Permit requirements: Some areas require approval for structures attached to your home or exceeding a specific size.
- Property lines: Ensure your pergola is positioned within your property boundaries.
- Height limits: Follow local rules to avoid future issues with inspections or neighbors.
Gather Tools and Materials
Having everything ready before starting makes construction smoother and safer.
- Essential tools: Post-hole digger, level, circular saw, drill, measuring tape, and safety gear.
- Materials: Pressure-treated wood or aluminum, concrete, screws, and weather-resistant brackets.
- Optional upgrades: LED lights, retractable canopies, or shade covers for extra comfort.
4 Tips: How To Build a Pergola Safely & Efficiently
Now that you’ve prepared your plan and materials, it’s time to start building. These steps will guide you through the process from foundation to finishing touches.
Step 1: Mark and Measure the Area
Accurate measurements are key to ensuring your pergola’s stability and symmetry.
- Measure precisely: Mark the post locations with stakes or chalk lines before digging.
- Square the layout: Use the 3-4-5 method to make sure corners are perfectly aligned.
- Double-check spacing: Measure diagonals to confirm your layout is even.
Step 2: Install the Support Posts
Your posts form the backbone of your pergola, so take extra care when setting them.
- Dig post holes: Typically 24–36 inches deep, depending on soil type and local frost line.
- Set in concrete: Pour concrete around each post to stabilize the structure.
- Check alignment: Use a level to ensure each post is straight and evenly spaced.
Step 3: Add Beams and Cross Rafters
Once your posts are secure, attach the beams and rafters to form the roof structure.
- Attach beams: Use heavy-duty brackets or lag screws for solid support.
- Space rafters evenly: Maintain consistent spacing (about 12–16 inches apart) for symmetry.
- Secure connections: Use corrosion-resistant hardware to prevent wear over time.
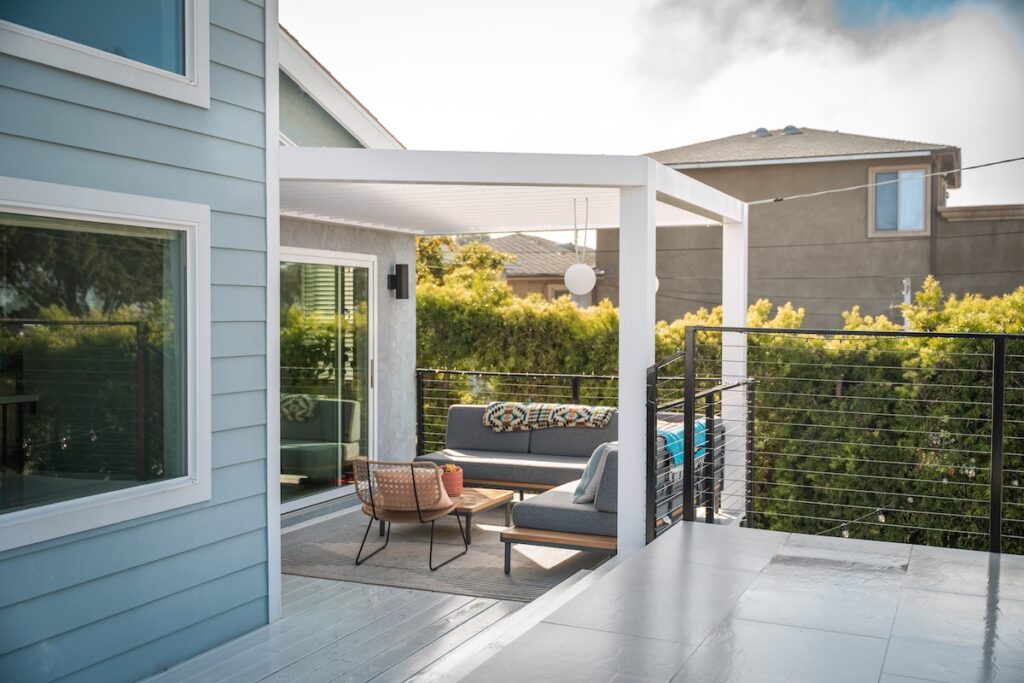
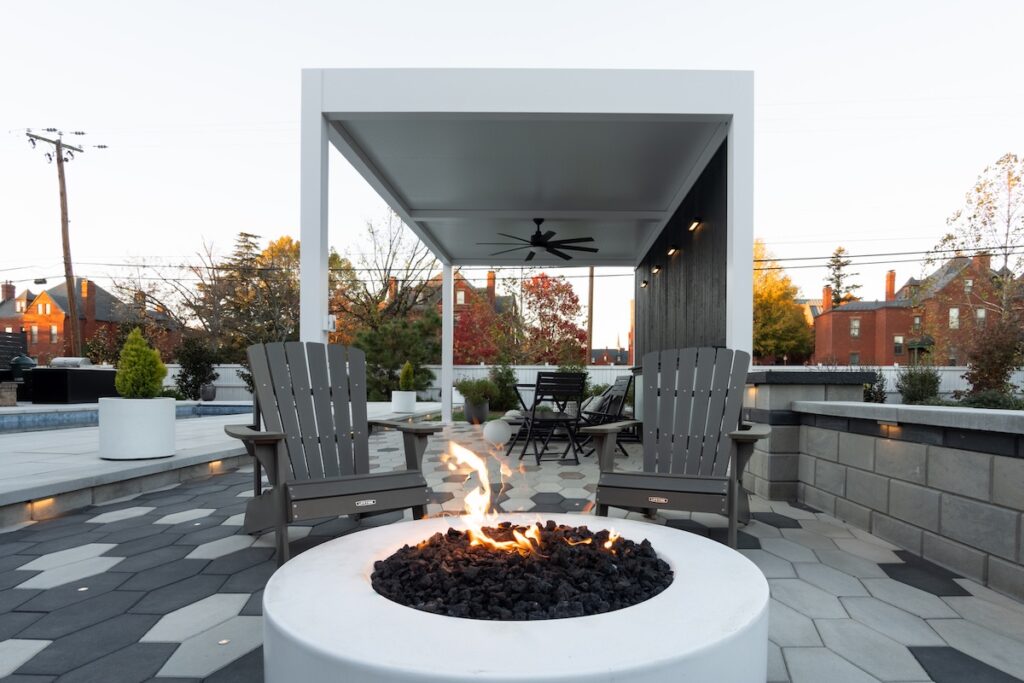
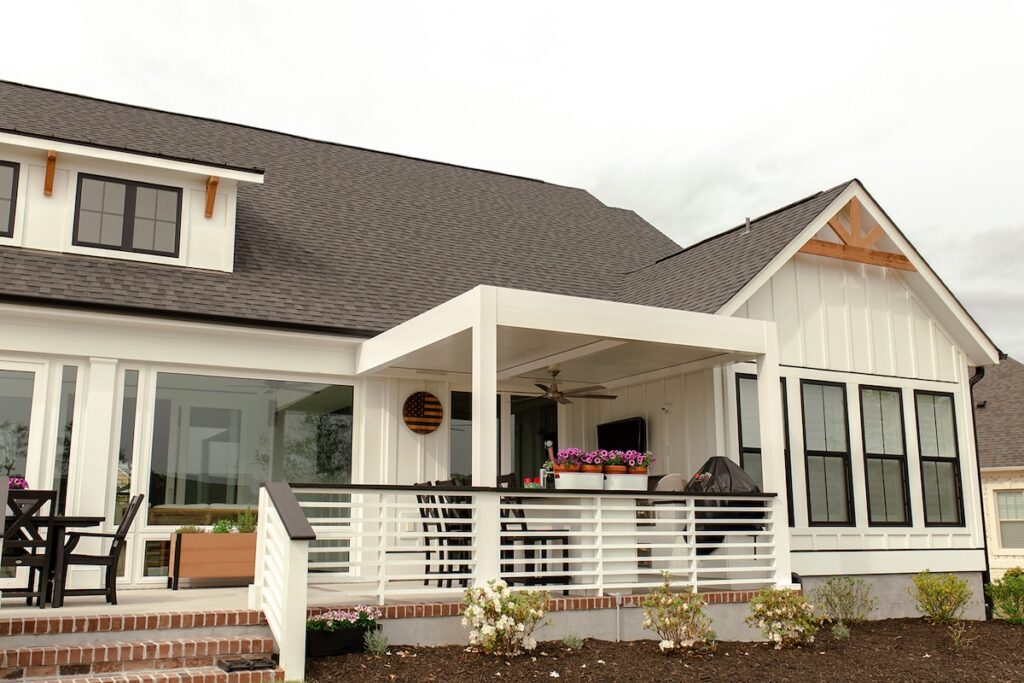
Step 4: Add Roof Elements or Shade
Depending on your design, you can leave your pergola open or install a covering for added protection.
- Louvered panels: Adjustable panels allow you to control sunlight and airflow.
- Polycarbonate sheets: Offer UV protection and weather resistance.
- Fabric canopy: Adds color, shade, and an inviting, relaxed look.
Step 5: Finishing Touches
Once the structure is complete, a few finishing details can extend the life of your pergola and enhance its look.
- Seal or paint: Protect wood from moisture and UV rays with weatherproof coatings.
- Add lighting: String or recessed lighting turns your pergola into an evening retreat.
- Inspect safety: Double-check all joints and hardware before use.
Safety Tips for Building a Pergola
Safety should always come first during any DIY project. Simple precautions make a huge difference in avoiding accidents.
- Wear protection: Always use gloves, safety glasses, and hearing protection when cutting or drilling.
- Secure materials: Clamp wood or metal before sawing to prevent movement.
- Lift properly: Get help when moving large beams to avoid injury.
- Avoid electrical hazards: If adding lighting, consult a qualified electrician.
Even the most experienced DIYers can overlook safety when rushing. Taking your time and following each step carefully ensures a pergola that’s safe, strong, and beautiful.
How To Build a Pergola That Lasts
To keep your pergola looking great and performing well for years, follow these key maintenance steps after construction.
- Inspect annually: Check for loose screws, cracked boards, or signs of rust.
- Clean regularly: Remove debris, leaves, and dirt buildup from rafters and beams.
- Re-seal wood: Apply a fresh coat of stain or sealant every few years for moisture protection.
- Clear snow: Prevent heavy snow accumulation to protect the structure during Wisconsin winters.
Consistent care extends your pergola’s lifespan and ensures it remains a stunning focal point of your backyard.
When To Call the Professionals
While building a pergola can be a rewarding DIY project, certain situations call for expert help—especially if you want advanced features or a more complex design.
- Electrical installations: Leave wiring and lighting work to certified electricians.
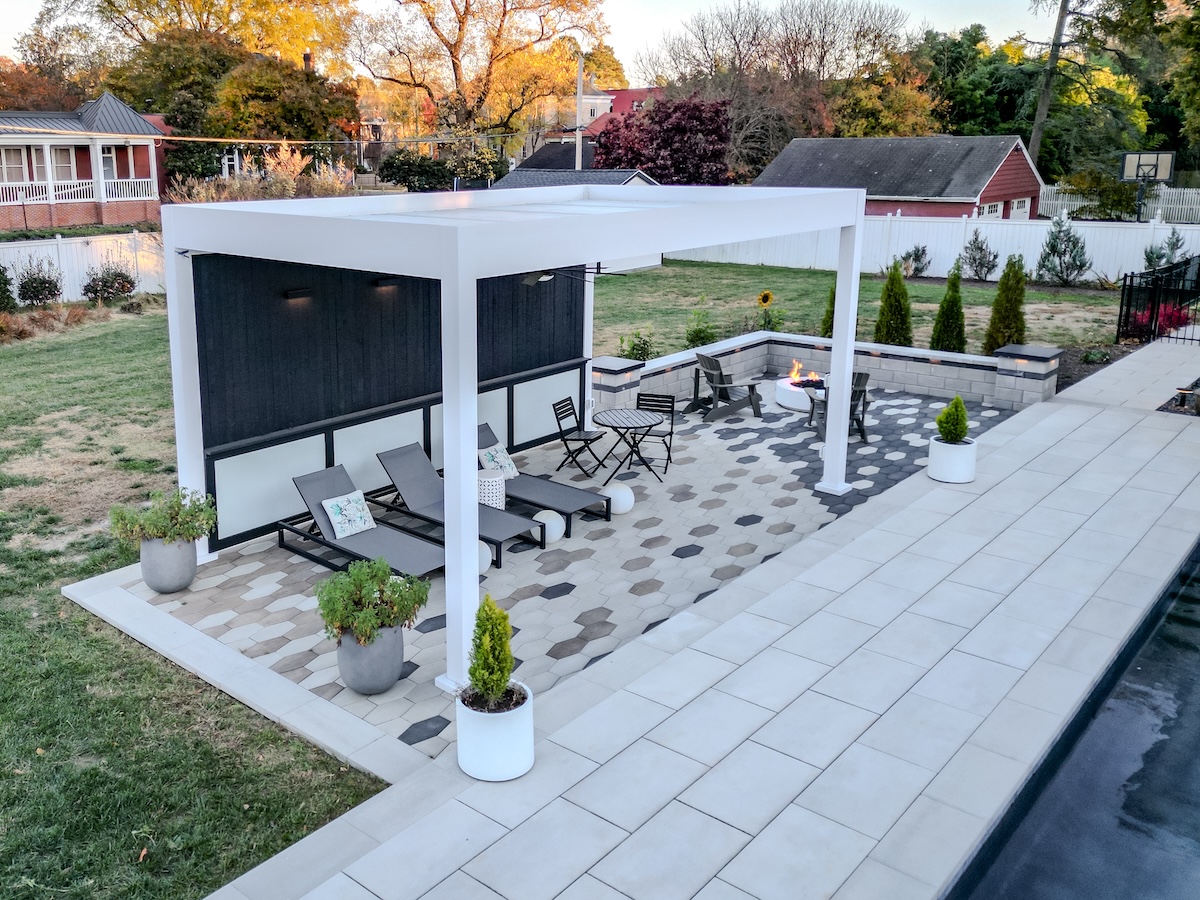
- Motorized systems: Azenco-style louvered roofs or smart systems require precise setup.
- Structural challenges: If your pergola attaches to your home or sits on uneven ground, professional installation guarantees stability and safety.
If you’re unsure about any part of your project, consulting an experienced installer like First American Roofing & Siding, Inc. can save time and prevent costly mistakes.
Why Choose First American Roofing & Siding, Inc.
At First American Roofing & Siding, Inc., we understand Wisconsin’s climate and the construction standards needed for outdoor living spaces. Our team specializes in professional pergola installations that combine style, safety, and durability. Whether you want a custom Azenco Pergola or a traditional wood design, we provide the craftsmanship and attention to detail that homeowners in Holmen, WI, and surrounding areas trust.
We’ll handle every step, from design planning to final installation, ensuring your pergola not only looks beautiful but stands the test of time.
Build Smart, Build Safe
Learning how to build a pergola safely and efficiently can turn your backyard into a true extension of your home. With careful planning, proper materials, and a focus on safety, you can enjoy years of outdoor comfort and style.
For homeowners in Holmen, WI, and nearby areas who want professional assistance, First American Roofing & Siding, Inc. is ready to help. Contact us today for a free estimate and let our expert team bring your pergola vision to life—beautifully, securely, and built to last.