4 Step Roof Leak Repair: How to Spot Leaks & What to Do Next

Written By: First American Roofing
06/03/21
8 Mins
Seeing a water stain on your ceiling? You might be facing a roof leak, and it’s not something to ignore.
Roof leaks can cause serious damage fast. While full repairs should be left to the pros, there are temporary roof leak repair steps you can take to minimize the damage and buy some time.
While full roof replacements or major repairs should always be left to the pros, there are several temporary steps you can take right now to minimize damage and buy time until help arrives. Whether you’re a weekend DIYer with some tools or just looking to prevent further damage, we’ve got you covered.
Key Takeaways
- Roof leaks need fast action to prevent serious damage.
- Some quick DIY fixes can buy time.
- Know the warning signs: stains, missing shingles, sagging.
- Call a pro for long-term repair.
Here are our best tips!

How Do You Spot a Roof Leak?
Catching a roof leak early can save you thousands in repair costs and prevent serious damage like mold or structural rot. Here are five common signs of a roof leak and how to recognize them:
1. Water Stains on Ceilings or Walls
Look for brownish or yellow spots on ceilings or the top parts of walls, especially on the upper floor or directly beneath the attic. These stains typically mean water is making its way through the roof and insulation.
- Pro Tip: If you notice the spots grow or darken after rain, it’s time to call a roofer immediately.

2. Missing or Dislodged Shingles
From the ground, check for noticeable gaps in your shingle rows. If you see a darker patch or uneven lines, you may have a missing shingle.
- DIY Check: Use binoculars or a smartphone zoom to safely inspect from the ground after a windstorm.
3. Cracked, Curling, or Buckled Shingles
Even if your shingles are still in place, they can be compromised. Look for:
- Edges curling upward
- Cracks or splits
- A wavy or uneven appearance on your roof surface
These issues can allow slow leaks to develop under the surface.
- Note: Hail, falling branches, or heat exposure can all cause these types of shingle damage.
4. Damaged Flashing or Vent Boot Covers
Flashing is the metal that seals roof edges, valleys, and around chimneys or vents. If it’s rusted, bent, or peeling away, water can sneak in through those seams. Similarly, cracked or loose boot covers around plumbing vents are common leak sources.
- Look for: Rust lines or water streaks down the side of your chimney or vent pipes.
5. Water Stains or Mold in the Attic
Use a flashlight and inspect your attic, especially after a heavy rain. Check for:
- Damp insulation
- Moldy smell
- Water stains on the attic floor or rafters
- Safety Tip: Only inspect when conditions are dry and safe. Never step directly on the insulation between joists.
When Are Roof Leaks Most Likely to Appear?
Roof leaks often don’t show up until weather conditions push your roofing system to its limits. Here are common times when leaks are most likely to reveal themselves:
- After a heavy rainfall or thunderstorm
- During snow melt in early spring
- Following hail or high-wind events
- When ice dams form and melt near roof edges
Common Tools to Help Detect Roof Leaks
You don’t need to be a roofer to investigate a potential leak. Here are a few household tools that can make the process easier (and safer):
- Flashlight: Essential for checking dark attic corners.
- Binoculars: Great for inspecting shingles from the ground.
- Moisture meter: Detects dampness in walls or attic insulation.
- Smartphone camera (zoom): Helps spot shingle damage or gaps without climbing.
Signs of a Recurring or Previous Leak
Not all leaks are new, many homeowners don’t realize they have an ongoing problem until it gets worse. Here’s how to spot signs of an old or recurring leak:
- Ceiling stains with rings (indicates drying over time)
- Cracking or peeling interior paint
- Soft or sagging drywall
- Musty smells in the attic or near upper floors
- Warped or stained wood along rafters or joists
If these signs are present, you may have had a leak before that was never fully repaired, or one that’s come back.
How to Run a Safe DIY Leak Test
If you suspect a leak but can’t find the source, try this controlled test:
- Wait for dry weather.
- Have a helper stand in the attic with a flashlight.
- Use a garden hose to gently run water over different sections of your roof, starting low and working your way up.
- Move slowly: spend 2–3 minutes on each section.
- Your helper should watch for drips, moisture, or dark spots forming in the attic.

How to Repair a Roof Leak (Step-by-Step)
Whether you’re a seasoned DIYer or calling in the pros, here’s a clear, actionable breakdown for fixing a roof leak the right way.
1. Start with a Full Roof Inspection
Before any repairs begin, a thorough roof inspection is non-negotiable. Even if you’ve already spotted the leak source, there may be secondary issues like hidden water damage or weak spots that haven’t broken through yet.
Look for:
- Cracked or curling shingles
- Rusty or detached flashing
- Sagging rooflines or soft spots
- Water stains on the attic floor or rafters

2. Remove All Damaged Materials
Once you’ve found the problem areas, it’s time to remove any materials that are:
- Waterlogged
- Missing
- Cracked
- Warped
This may include:
- Shingles
- Flashing
- Underlayment
- Sealant or old caulking
Recommended Tools:
- Roofing shovel or pry bar
- Hammer or drill
- Safety harness (if going on the roof)
- Gloves & protective eyewear
3. Replace the Underlayment and Shingles
If the underlayment is torn or soaked, install a new moisture barrier before re-shingling.
Steps to Replace Shingles:
- Slide the new shingle into place.
- Nail it down along the nail line (usually 6–8″ apart).
- Use a utility knife to cut shingles around vents or chimneys.
- Ensure all layers overlap properly to prevent future leaks.
Tip: Always follow the shingle manufacturer’s guidelines for spacing and installation. Incorrect placement can void warranties or cause more leaks.
4. Seal Everything for Extra Leak Protection
Once all materials are in place:
- Apply roof sealant to the seams, nail heads, and flashing.
- Use roofing caulk around chimney bases, vent pipes, and skylights.
- For interior leaks near light fixtures or ceilings, spray foam insulation can temporarily help until a full repair is done.

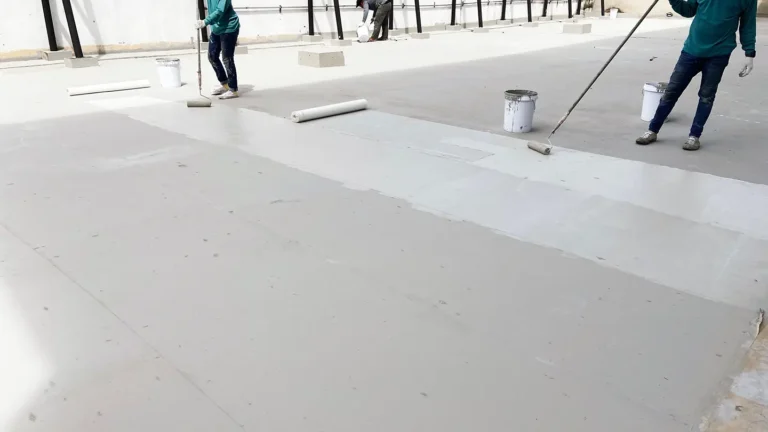
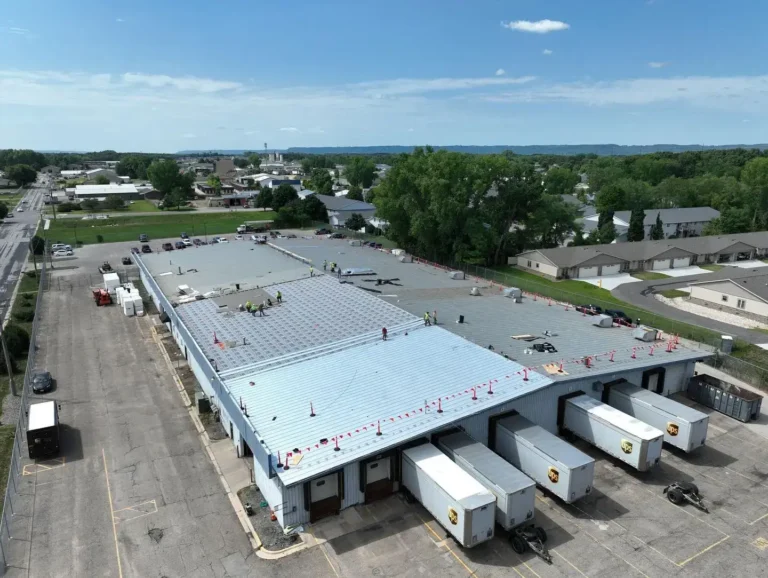
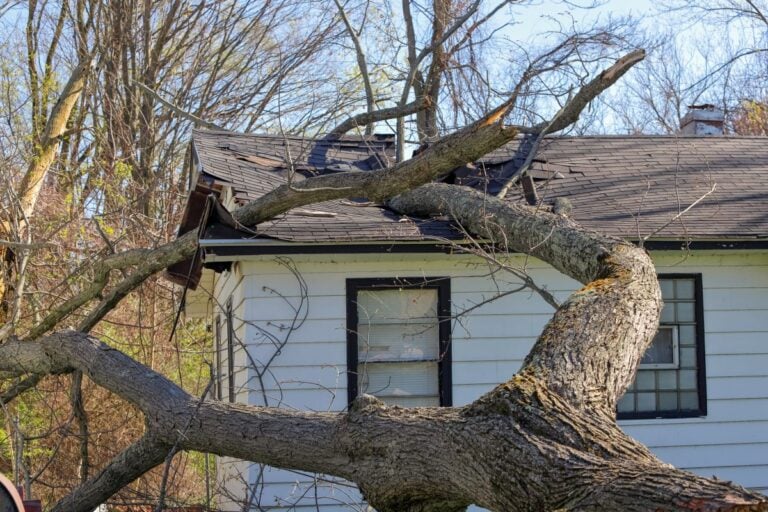
Emergency Roof Leak Repair: When to Call the Pros
If your roof is nearing its lifespan or has suffered damage due to hail or another strong storm, it’s vital to get your roof repaired by a professional. They can see things the amateur homeowner cannot, and they will also repair it in a way that prevents future damage and leaks.
We love when homeowners have the ability to make minor repairs to buy them some time until we get there. But we always recommend calling a professional for all roof repairs, especially in the event of a roof leak. Roof leaks can cause much more severe damage in your home if they’re left unattended.
So for all of your roof leak repair, general repairs and replacement needs, contact First American Roofing today!
FAQ’s
What is the best thing to seal a leaking roof?
The best product to seal a leaking roof depends on the type and location of the leak. For small cracks and nail holes, roofing cement is a go-to solution due to its durability and ease of application. Silicone or polyurethane caulk works well around flashing, chimneys, and vent boots. Liquid rubber roof coatings are excellent for larger surfaces, such as flat roofs or metal panels, providing a waterproof membrane. For quick, temporary fixes, roofing patch tape can provide an instant seal. No matter which product you choose, the surface should be cleaned and dried before application for the best results.
How do I know if my roof leak is serious?
A roof leak is serious if you notice water stains spreading quickly, sagging ceilings, peeling paint, or moldy odors, these are signs that water is affecting structural components. Leaks that occur during every rainfall, or in multiple areas, usually indicate widespread damage or aging materials. Even a small leak can lead to significant issues if left untreated, so it’s best to address any signs of water intrusion promptly. If in doubt, call a professional for a full roof inspection.
Does insurance cover roof leak repair?
Homeowners insurance may cover roof leak repair, but it depends on the cause of the leak. If the damage is sudden and accidental, like from hail, a windstorm, or a falling tree, it’s typically covered. However, leaks due to normal wear and tear, aging shingles, or lack of maintenance are usually excluded. To find out if your policy covers your specific situation, check the terms and contact your insurer. Be sure to document any damage with photos and get a professional assessment if needed.