How to Paint Vinyl Siding? (Step-by-Step Guide for Homeowners)

Written By: First American Roofing
04/02/25
8 Mins
Are you looking to refresh your home exterior with a splash of new color? Painting vinyl siding can completely transform your home’s curb appeal without needing an expensive replacement. While some assume vinyl can’t be painted, that’s far from the truth—it’s not only possible but also a cost-effective way to breathe new life into your siding.
This guide provides detailed instructions on how to paint vinyl siding, step by step, using proven methods that ensure a durable and beautiful finish. Here’s what you’ll learn:
- Why paint vinyl siding at all?
- Steps to paint vinyl siding (with a detailed numbered process)
- Expert tips for a perfect finish
🤔 Why Paint Vinyl Siding at All?

Vinyl siding is a popular choice for homeowners because of its low-maintenance nature. However, over time, even vinyl siding can start to lose its appeal. It may fade, become discolored, or simply leave you wishing for a fresh, updated look. While replacing vinyl siding is one option, it’s often a costly and time-intensive process. A more affordable and efficient alternative is painting your vinyl siding. This not only gives your home a refreshed appearance but can also extend the life of your siding when done correctly. With proper preparation and high-quality paint, the results can be durable and long-lasting, offering a great return on investment.
Benefits of painting vinyl siding:
- Cost Savings: Painting costs significantly less than a full siding replacement.
- Personalization: Update your home’s aesthetic with modern, trendy colors.
- Longevity: A properly painted vinyl surface can increase your siding’s lifespan.
✅ 6 Steps to Paint Vinyl Siding

Painting vinyl siding is a cost-effective way to refresh your home’s exterior without the expense of replacing it. Following the right steps ensures a long-lasting and
1. Clean the Siding
Before you begin painting, it’s essential to start with a clean surface. Any dirt, mildew, or debris on your siding can prevent the paint from adhering properly, leading to uneven coverage or peeling over time. Cleaning thoroughly ensures that the paint will bond well and last longer. To clean your siding, you can use a pressure washer for a quick and effective solution, allowing you to remove grime and contaminants in less time. If you don’t have access to a pressure washer, you can clean manually using water, a mild detergent, and a sturdy scrub brush. Focus on scrubbing all areas of the siding, especially spots that might be more prone to buildup. After cleaning, rinse the siding well with fresh water to ensure no soap residue remains, as it can interfere with the paint. Allow the siding to dry completely before moving on to the next steps. Starting with a clean base is one of the most important steps for achieving a smooth, professional-looking finish. Before proceeding, take an extra moment to check small areas for any hidden dirt or loose paint, as these small issues can disrupt the final result. A clean surface sets the foundation for a successful paint job.
2. Inspect and Repair
Once the siding is clean and dry, it’s time to carefully inspect it for any damage or wear. Look closely for cracks, gaps, or loose panels, as these imperfections can make painting difficult and result in uneven coverage. If you find cracks or gaps, use waterproof caulk to fill them in and create a seamless surface. Filling these areas not only improves the final appearance of the paint job but also helps protect your siding from future damage caused by water intrusion or weather conditions. If you notice any loose panels, secure them properly before continuing. This step is crucial to ensuring a smooth and lasting paint application. Taking the time to make these repairs now will save you trouble in the future and enhance the durability of both the paint and the siding. A fully prepared surface is key to achieving a polished and professional look.
3. Mask and Protect
Before you start painting, it’s important to protect the areas you don’t want to paint. Carefully mask off windows, doors, and trim using painter’s tape to ensure clean, straight edges. Lay down drop cloths to shield nearby surfaces, such as patios, walkways, or outdoor furniture, from paint drips or overspray. If possible, remove any exterior fixtures like light sconces, house numbers, or doorbells to make the painting process smoother and to avoid accidentally getting paint on them. For landscaping near your house, such as bushes, flowers, or trees, cover them with plastic sheeting or old sheets to avoid paint spray or drips. Taking extra precautions to protect these areas will save you time and effort later on. Spending some time on this preparation step ensures a neater and more professional final result, minimizing cleanup and touch-ups afterward.
4. Apply a Primer (Optional)
Applying a primer may not always be necessary, but in certain cases, it can make a big impact on the overall quality of your paint job. If your siding is porous, faded, or unpainted, using a primer can improve paint adhesion and create a smoother and more even finish. A good primer can also help prevent issues like peeling or uneven color, especially if the siding is in poor condition. Be sure to choose a vinyl-friendly primer specifically designed for siding to ensure compatibility. Apply the primer in light, even coats, making sure to cover the entire surface without leaving streaks or uneven patches. Allow the primer to dry completely before moving on to the paint. While this step adds extra time to the process, it helps create a durable and long-lasting finish that can withstand the elements. Skipping primer may save time upfront, but it’s often worth the effort in the long run for a professional-quality result.
5. Start Painting
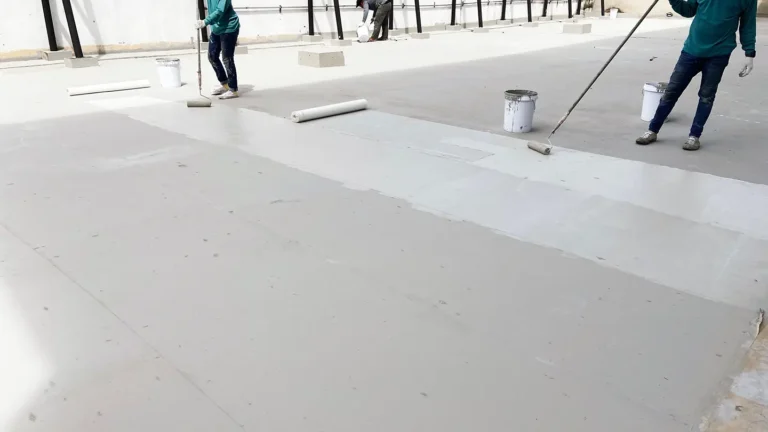
Once the siding is cleaned, repaired, and primed (if necessary), it’s time to start painting. Choose a high-quality vinyl-safe paint specifically designed to adhere to siding. Avoid using dark colors, as they can absorb heat and cause the siding to warp over time. To achieve a professional-looking finish, consider using a paint sprayer, which provides a smooth and even coating. If a sprayer isn’t available, rollers work well for flat surfaces and can still produce great results. Begin painting at the top of the siding and work your way downward to prevent drips from ruining freshly painted areas. Apply the paint in thin, even coats, allowing each coat to dry for approximately 2–4 hours before applying the next. Most projects will require at least two coats to achieve full coverage and a uniform appearance. Take your time during this step to ensure that every section of the siding is evenly coated for the best results.
6. Final Touches
Once the paint is completely dry, it’s time to wrap up the project with the finishing touches. Remove the painter’s tape carefully to reveal clean, sharp edges around windows, doors, and trim. Inspect the siding for any missed spots or uneven areas and touch them up as needed to ensure a flawless finish. Reinstall any light fixtures, house numbers, or other exterior elements you removed earlier. Take a step back and admire your hard work—your freshly painted siding not only transforms your home’s appearance but also provides lasting protection against the elements. By taking the time to complete each step carefully, you’ve ensured a beautiful and durable result that will enhance your home for years to come.
💡 Expert Tips for a Perfect Finish

Here are some additional tips to ensure your project is a success:
Ideal Weather
When planning to paint, aim for a dry, overcast day with temperatures between 50–85℉. These conditions ensure the paint dries evenly and adheres properly. High humidity can slow drying and lead to uneven results, while direct sunlight can cause the paint to dry too quickly, leading to cracks or peeling. Always check the weather forecast to avoid sudden rain or temperature shifts during your project.
Test First
Before committing to painting your entire house, test your chosen paint on a small, hidden area of your siding. This step helps confirm the color matches your expectations and ensures the paint adheres well to the surface. It’s much easier to address any issues at this stage rather than having to redo a larger section later.
Maintenance
Once your siding has a fresh coat of paint, regular maintenance is key to preserving its appearance. Schedule a thorough cleaning at least twice a year to remove dirt, debris, and mildew, which can dull the paint over time. Consistent upkeep will help your home look vibrant and ensure the longevity of your siding’s new finish.
🎨 Painting Vinyl Siding
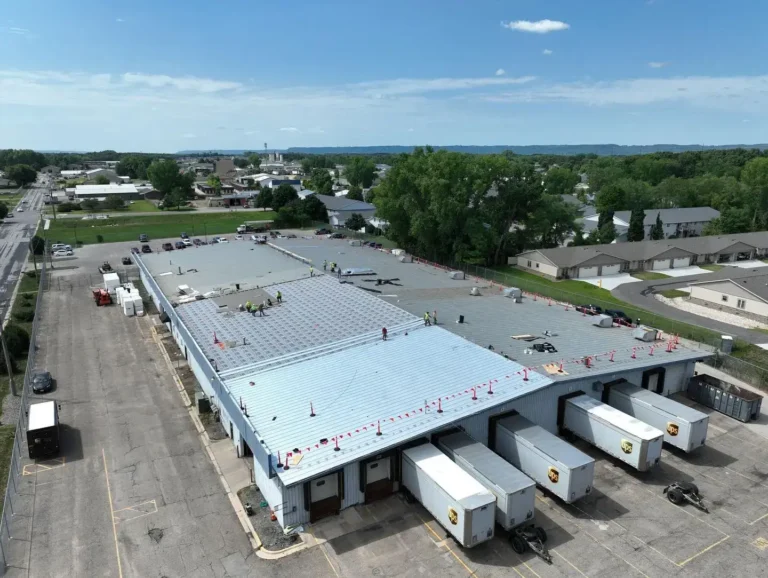
At First American Roofing & Siding, we understand that painting your vinyl siding is a big decision, and we’re here to ensure the job is done right. With over 20 years of trusted experience, we’ve helped countless homeowners across Wisconsin and Minnesota enhance their homes with expert siding solutions.
Whether you’re looking to paint, replace, or simply want professional guidance, our team is committed to delivering high-quality results you can depend on. Ready to transform your home’s exterior? Contact us today for a consultation and let us bring your vision to life!