As homeowners, you often find great pride in caring for and maintaining your home. And those moments when you can do your own repairs thanks to some Youtube videos and the help of a friend are some of the best moments.
But what about when you find yourself needing roof leak repairs? Well, repairing or replacing the whole roof should be left to the pros, but there are some temporary fixes that you can do yourself to help buy some time and prevent further damage from occurring. So today, we’re sharing a few roof leak repair tips for homeowners to spot and fix those small leaks.
How Do You Spot a Roof Leak?
Several signs can indicate a roof leak, and you want to know what to look for so you can catch it early. 5 main signs can indicate you may need a roof leak repair:
1. Spots on the Ceiling
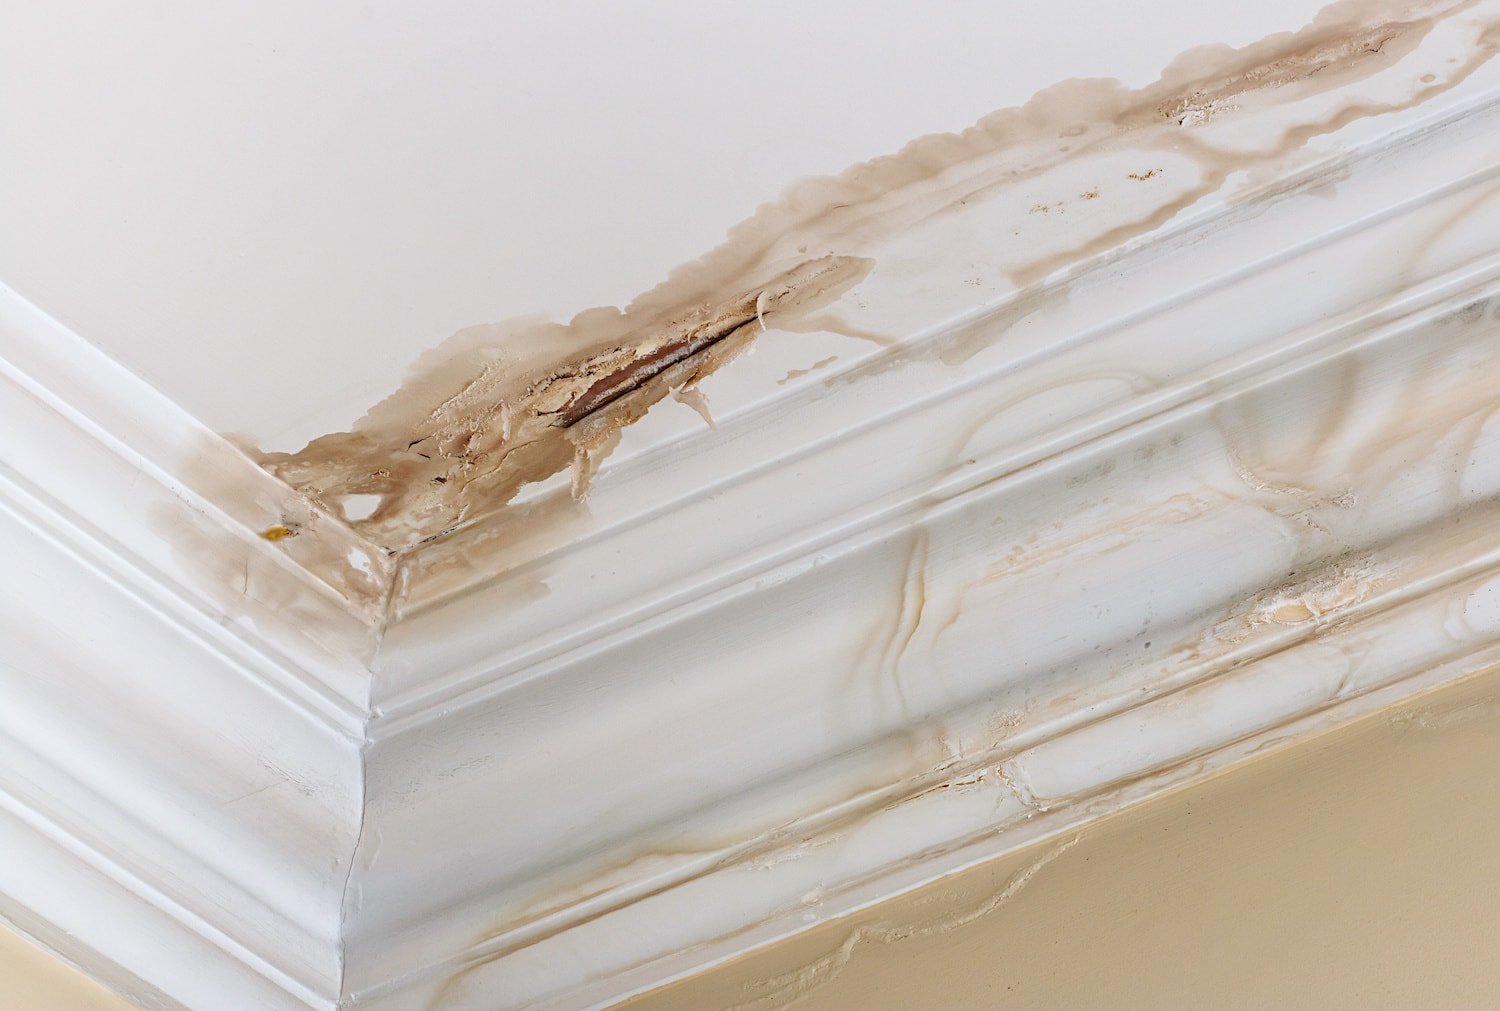
If you notice spots on your upper floor ceilings or the floor beneath the attic, it’s a good indication that water has leaked through your roof and saturated through the attic floor onto your ceiling. This needs to be addressed immediately because the longer water sits, the more chance mold and mildew have to grow. And mold in the walls and ceiling are hazardous for your health if breathed in, plus to repair it, you must completely remove and replace those sections of wall or ceiling. The longer you wait, the more you can expect to spend on roof leak repairs.
2. Missing Shingles
You should be able to tell that you have missing shingles without having to get up on the roof. It’ll be fairly obvious that a shingle is missing when you see a gap in the rows of shingles on your roof. If it’s tough to see, you can definitely get up on a ladder to take a peak without actually getting up on the roof.
Strong winds and storms can easily blow off shingles if you have an aging roof or it was previously damaged or installed poorly. A gust of wind can easily lift a shingle that’s been loosened prior and blow it off. Without a shingle protecting even that tiny section of your roof makes it immediately susceptible to leaks.
3. Damaged or Cracked Shingles
A shingle doesn’t need to be completely missing for your underlayment to be immediately at risk of a roof leak. Shingles can get cracked or damaged by hail, debris, and even strong winds. Even a small crack in a shingle can slowly allow water to seep through and wreak havoc on your roof. That slow leak will eventually lead to spots on the ceiling or more damage. You can spot damaged or cracked shingles by unevenness in the roof or a change in texture or color on the shingle itself.
4. Damaged Flashing or Boot Covers
Your shingles aren’t your roof’s only defense against leaks. Flashing is almost more important to ensure no leaks penetrate your roof. Flashing seals all of the spots where the roof meets a wall, chimney, or other seams. If any flashing or vent covers get damaged, that seam is highly vulnerable to leaks that can allow water to flow down into your interior walls and the attic.
5. Water Spots on the Attic Floor
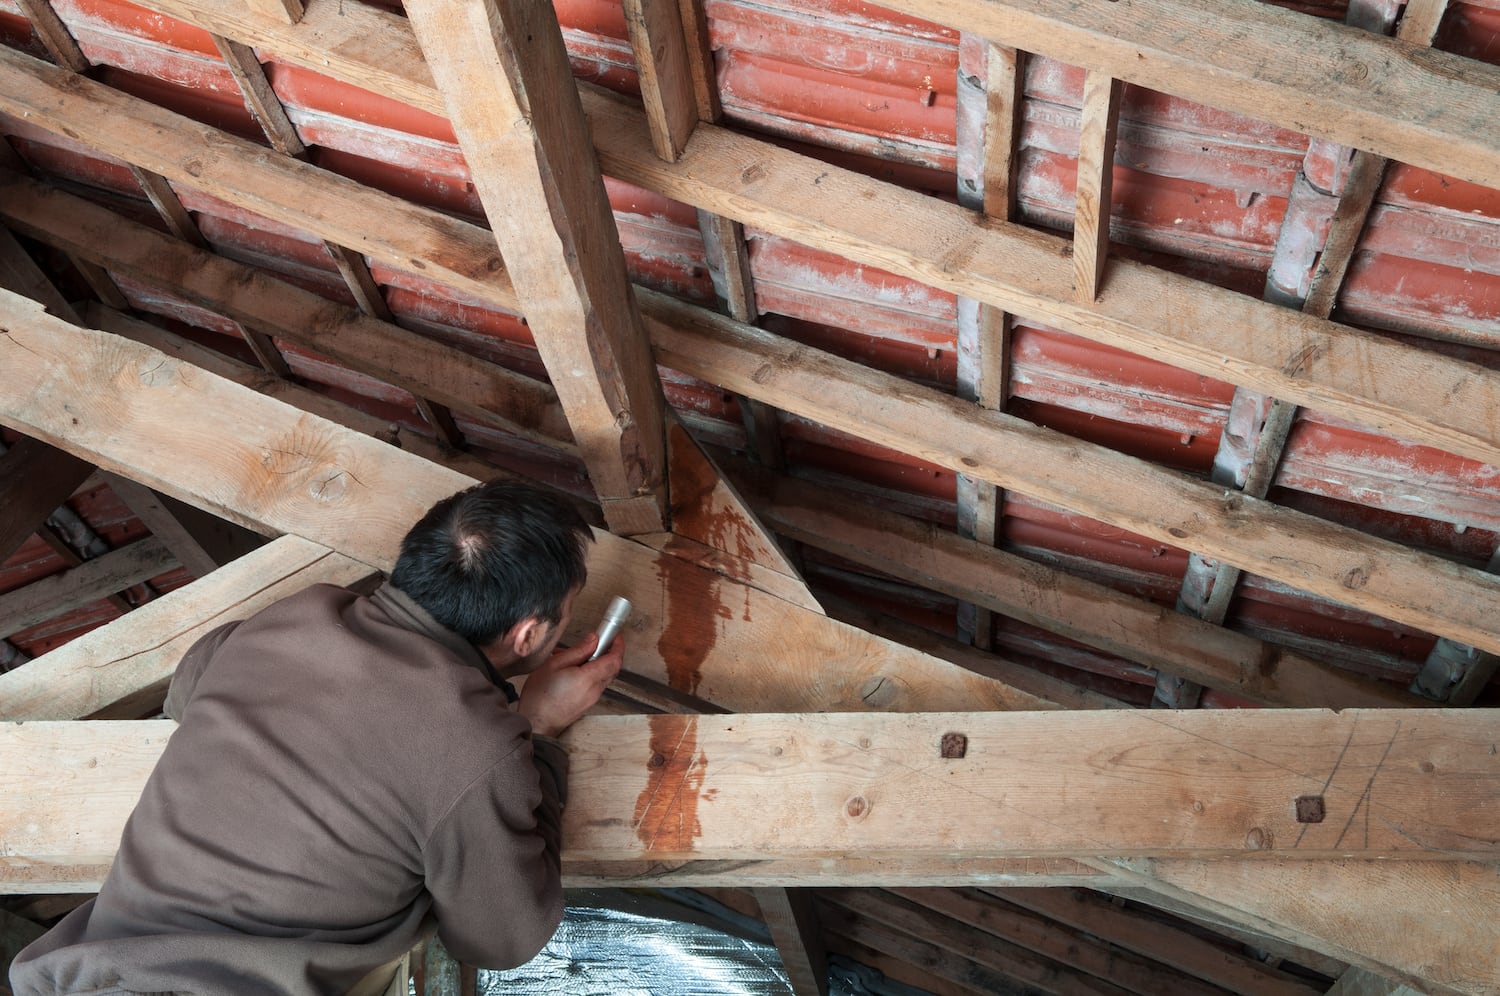
If you suspect you have a leak, one way to check is to go into your attic with a flashlight and see if you find any water spots on the attic floor. This would mean the water is leaking through but hasn’t penetrated to the ceilings yet. The best time to check for roof leaks is immediately after a rainstorm. When or if it is safe to do so, climb up to the attic and take a quick look around on both the attic ceiling and floor.
How To Start Your Roof Leak Repair
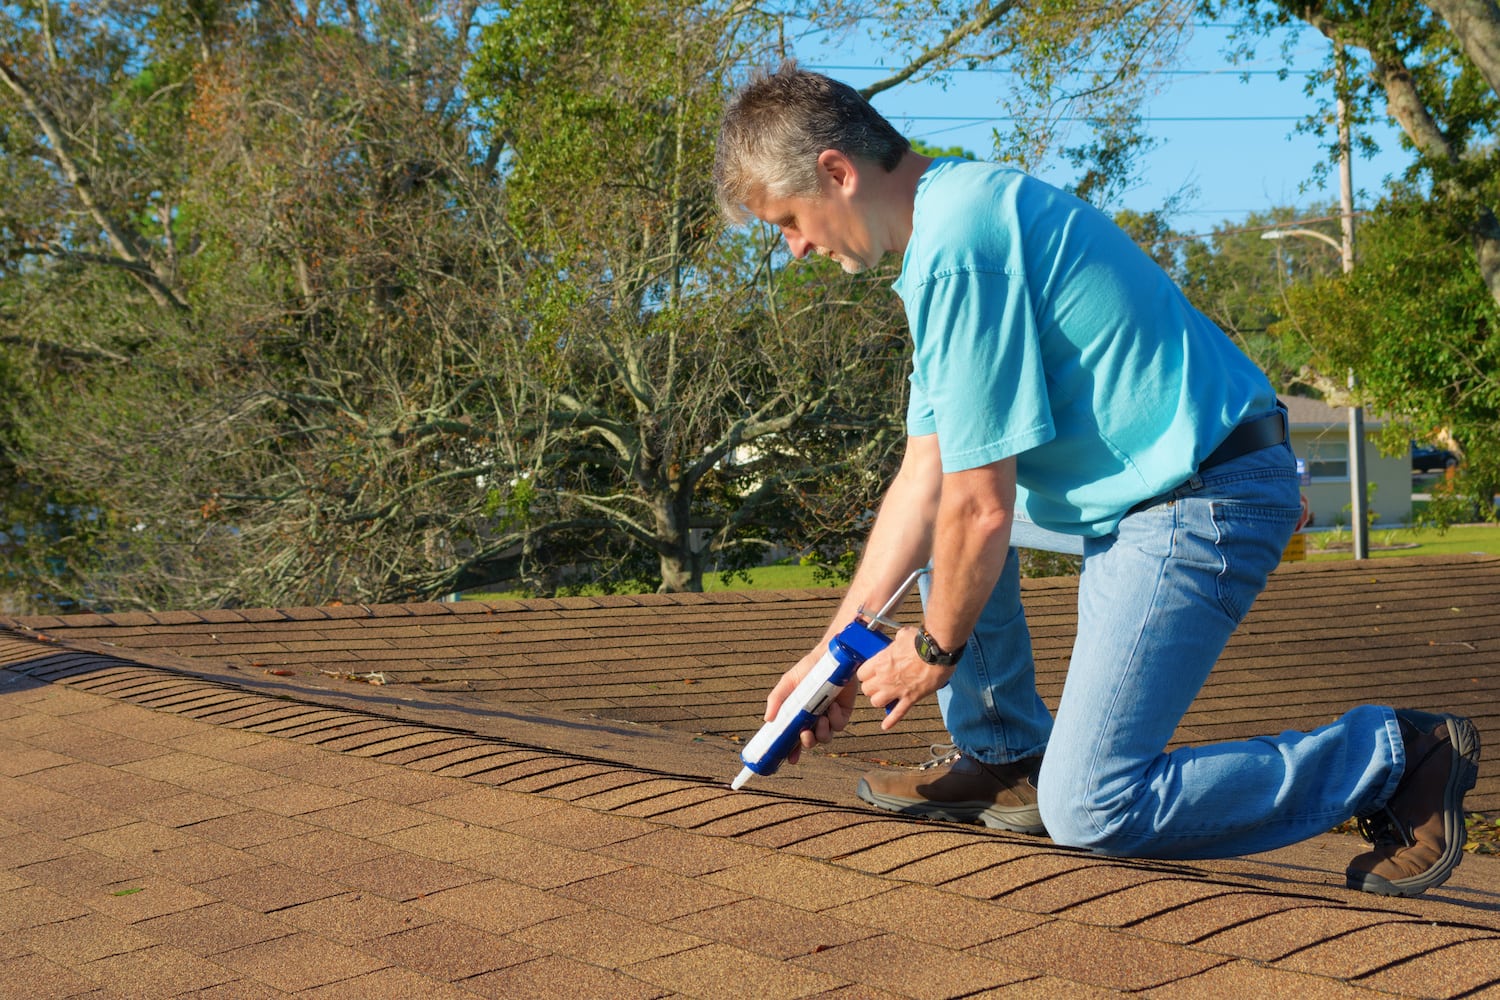
Small leaks can occur around old nails, cracked seams in the attic ceiling, and especially around flashing, chimneys, and roof vents/boots. You can easily repair some of these small leaks with some caulk and new flashing.
If your small leak is due to a missing or rusted nail, use some caulk or insulation to seal off that hole. If that’s the only bad nail, it can be a quick and easy fix.
If your leaks are occurring near ceiling light fixtures or the interior of your roof vents, again, caulk and spray insulation can help seal the area until you get the entire thing replaced.
Your flashing can age quicker than your roof, so repairing it when it starts to crack or peel away is critical to maintaining your roof’s integrity and preventing leaks. If you can safely do so, get up on your roof, remove the old flashing, and replace it with new flashing. Make sure to nail or screw in at least every 12 inches on your flashing to ensure a tight seal. Finish off with caulk around the edges, and ensure the shingles overlay securely.
When to Call the Pros
If your roof is nearing its lifespan or has suffered damage due to hail or another strong storm, it’s vital to get your roof repaired by a professional. They can see things the amateur homeowner cannot, and they will also repair it in a way that prevents future damage and leaks.
We love when homeowners have the ability to make minor repairs to buy them some time until we get there. But we always recommend calling a professional for all roof repairs, especially in the event of a roof leak. Roof leaks can cause much more severe damage in your home if they’re left unattended.
So for all of your roof leak repair, general repairs and replacement needs, contact First American Roofing today!


